3PL Client Onboarding Checklist: How to Set Up New Clients Fast
A 3PL client onboarding checklist is a step-by-step framework covering everything a third-party logistics provider must configure before a new client can start shipping — from contract execution and system setup to receiving workflows and billing rate card entry. Structured onboarding reduces go-live delays, prevents billing errors, and sets the tone for the entire client relationship.
Last Updated: April 2, 2026
Landing a new warehouse client is a win. But the period between signing the contract and receiving the first inbound shipment is where most 3PLs either impress or disappoint. Disorganized onboarding creates a bad first impression, delays billing, and forces your team to improvise workflows that should have been documented from day one.
A structured 3PL warehouse management software approach to client onboarding changes this. When every team member knows exactly what needs to happen before a client goes live, you cut your average onboarding time from weeks to days. This checklist walks you through the complete process.
Phase 1: Contract and Commercial Setup
Before any warehouse work begins, the commercial foundation needs to be locked in. Skipping this phase means rate disputes and billing errors later.
- Signed master services agreement (MSA) — Define liability limits, insurance requirements, and termination clauses.
- Rate card sign-off — Document every billable service: storage (per pallet/bin/sq ft), receiving (per pallet, per line, per carton), pick and pack (per pick, per order, per unit), value-added services, and returns handling. Get written sign-off before touching inventory.
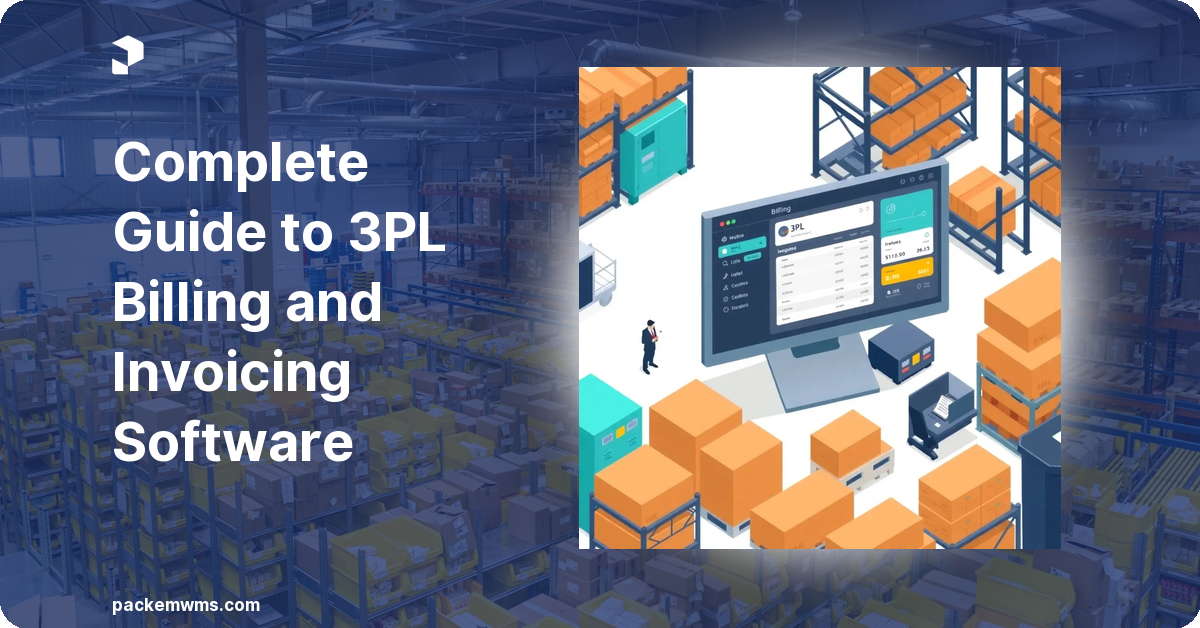
- Billing schedule and invoice delivery — Monthly, twice monthly, or weekly? Who receives invoices? Confirm before configuring billing in your WMS.
- Client insurance certificate on file — Most 3PL MSAs require clients to name you as additional insured on their cargo policy.
According to the Warehousing Education and Research Council, billing disputes are the number-one cause of 3PL client churn in year one. Getting rate cards locked in writing before operations begin eliminates the most common source of those disputes.
Phase 2: WMS System Configuration
Every client needs their own configuration before any inventory is scanned.
- Create client account and set access permissions — Set up the client portal login if your WMS supports it. Define what they can see and what they cannot.
- Enter rate card into billing module — This is the most critical WMS step. Every rate signed off in Phase 1 must be entered before a single transaction occurs. Rates entered after the fact are rates that get lost.
- Configure storage locations — Assign dedicated zones, rows, or bins for this client so inventory never gets mixed.
- Set up SKU library — Get their complete SKU list, descriptions, units of measure, and any lot or serial tracking requirements. Food and pharmaceutical clients will need lot expiration date fields enabled.
- Configure FIFO or FEFO rotation rules — If the client ships food, supplements, or any product with expiration dates, set up First Expired, First Out rotation now.
- Set up receiving workflow — Define how inbound shipments are received: blind receiving vs. PO-based, how to handle discrepancies. Test with a sample PO before go-live.
- Configure order sources — Connect the client’s Shopify, WooCommerce, or B2B EDI order feed. Test with a dummy order before going live.
- Set up reporting and alerts — Configure which reports the client receives: weekly inventory on-hand emails, monthly billing summaries, and low-stock alerts.
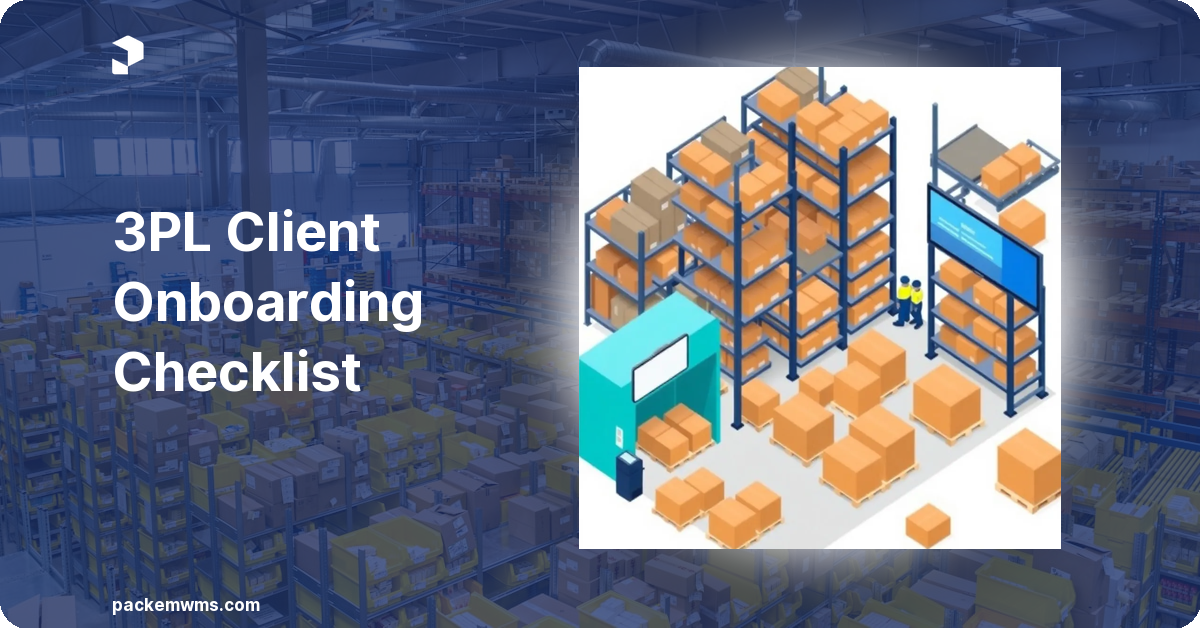
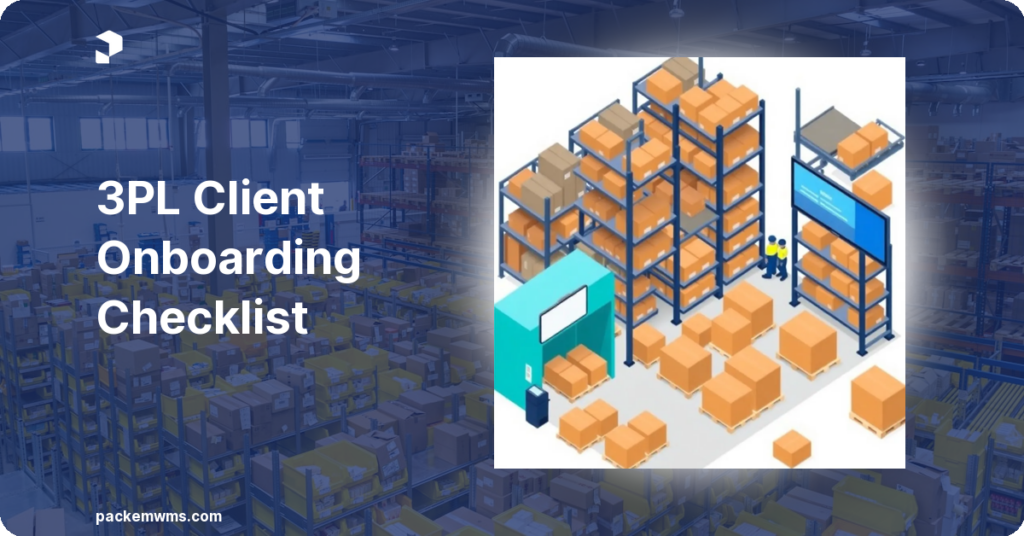
Phase 3: Physical Warehouse Setup
Before the first truck arrives, your warehouse floor needs to be ready.
- Label and mark storage locations — If assigning dedicated zones, get labels on racks and bins before inventory arrives.
- Prep receiving dock or staging area — Designate where this client’s inbound freight will stage. Verify any temperature-controlled requirements for food clients.
- Brief receiving team on client-specific requirements — Fragile goods, oversized items, alcohol, cold chain products? Brief your team before day one.
- Print or configure receiving documents — If scan-based, confirm mobile devices are configured and charged.
Phase 4: Go-Live Validation
Run a controlled test with real inventory before the client is officially live.
- Process a test inbound — Receive a small shipment. Verify inventory appears correctly in the WMS with accurate location, lot number, and quantity.
- Process a test outbound — Pick and pack a test order. Verify the pick workflow, carton labeling, and shipping carrier connection work end-to-end.
- Generate a test invoice — Run the billing module against test transactions. Verify every line item calculates correctly against the signed rate card.
- Confirm client portal access — Have the client log in and verify they can see their inventory on-hand report.
- Sign off with client — Send a brief email confirming go-live readiness. Document the date for your records.
According to third-party logistics industry benchmarks, 3PLs with a documented onboarding process reduce new client go-live time by 40% compared to ad-hoc setups. The difference is not speed of execution — it is having a repeatable system.
Phase 5: First 30 Days Monitoring
The contract is signed and orders are flowing. Most 3PLs stop here. The best ones keep running.
- Billing accuracy check at Day 7 — Pull unbilled transactions from your WMS. Catching rate card errors in week 1 is a minor fix. At month-end it becomes a dispute.
- Receiving accuracy review — Are inbound quantities matching purchase orders? Are discrepancies being documented?
- Order accuracy check — Review the first 50 orders for pick errors. High error rates in week 1 usually point to a SKU configuration problem, not a people problem.
- Client check-in at Day 14 — Schedule a brief call. Ask what is working and what is not. Clients who feel heard in week two stay longer.
- Post-onboarding debrief at Day 30 — Document what took longer than expected. Update your checklist to make the next client go-live 20% faster.
Using Your WMS to Systematize Onboarding
A structured onboarding checklist only works if your team can execute it consistently. That requires key WMS features that support multi-client operations from day one: client-specific rate cards, configurable storage locations, scan-based receiving, and automated billing generation.
PackemWMS is built for 3PLs running multiple clients simultaneously. The billing engine captures every transaction at the point of occurrence — no manual logging, no missed fees. Implementation takes 2 to 5 weeks.
If you are managing new client onboarding with spreadsheets and email, see how PackemWMS handles it in a 30-minute demo.
Frequently Asked Questions
What is a 3PL client onboarding checklist?
A 3PL client onboarding checklist is a documented set of steps covering contract execution, WMS configuration, physical warehouse setup, and go-live validation for a new warehouse client. It ensures nothing is missed before the client begins shipping through your facility.
How long does 3PL client onboarding typically take?
Most 3PL client onboarding takes 5 to 21 business days depending on complexity. Simple DTC clients can go live in under a week. Complex B2B clients requiring custom rate cards and compliance documentation typically take 2 to 4 weeks.
What information do I need from a new 3PL client before setup?
You need their complete SKU list with units of measure, signed rate card, billing contact and accounting system details, order source connections (Shopify, EDI), any lot or serial tracking requirements, insurance certificate, and inbound shipment schedule.
How do I prevent billing errors with new 3PL clients?
Enter the signed rate card into your WMS billing module before any inventory is received. Every transaction captured by the system will automatically calculate fees against the client’s rate card. Never run billing off manual logs for a client with an active rate card in the system.
What happens if I skip WMS configuration before the first inbound?
If rate cards are not configured before receiving begins, billable transactions will not calculate correctly. You will either undercharge (losing revenue) or need to retroactively reconstruct billing from warehouse logs. Always configure billing first, receive inventory second.