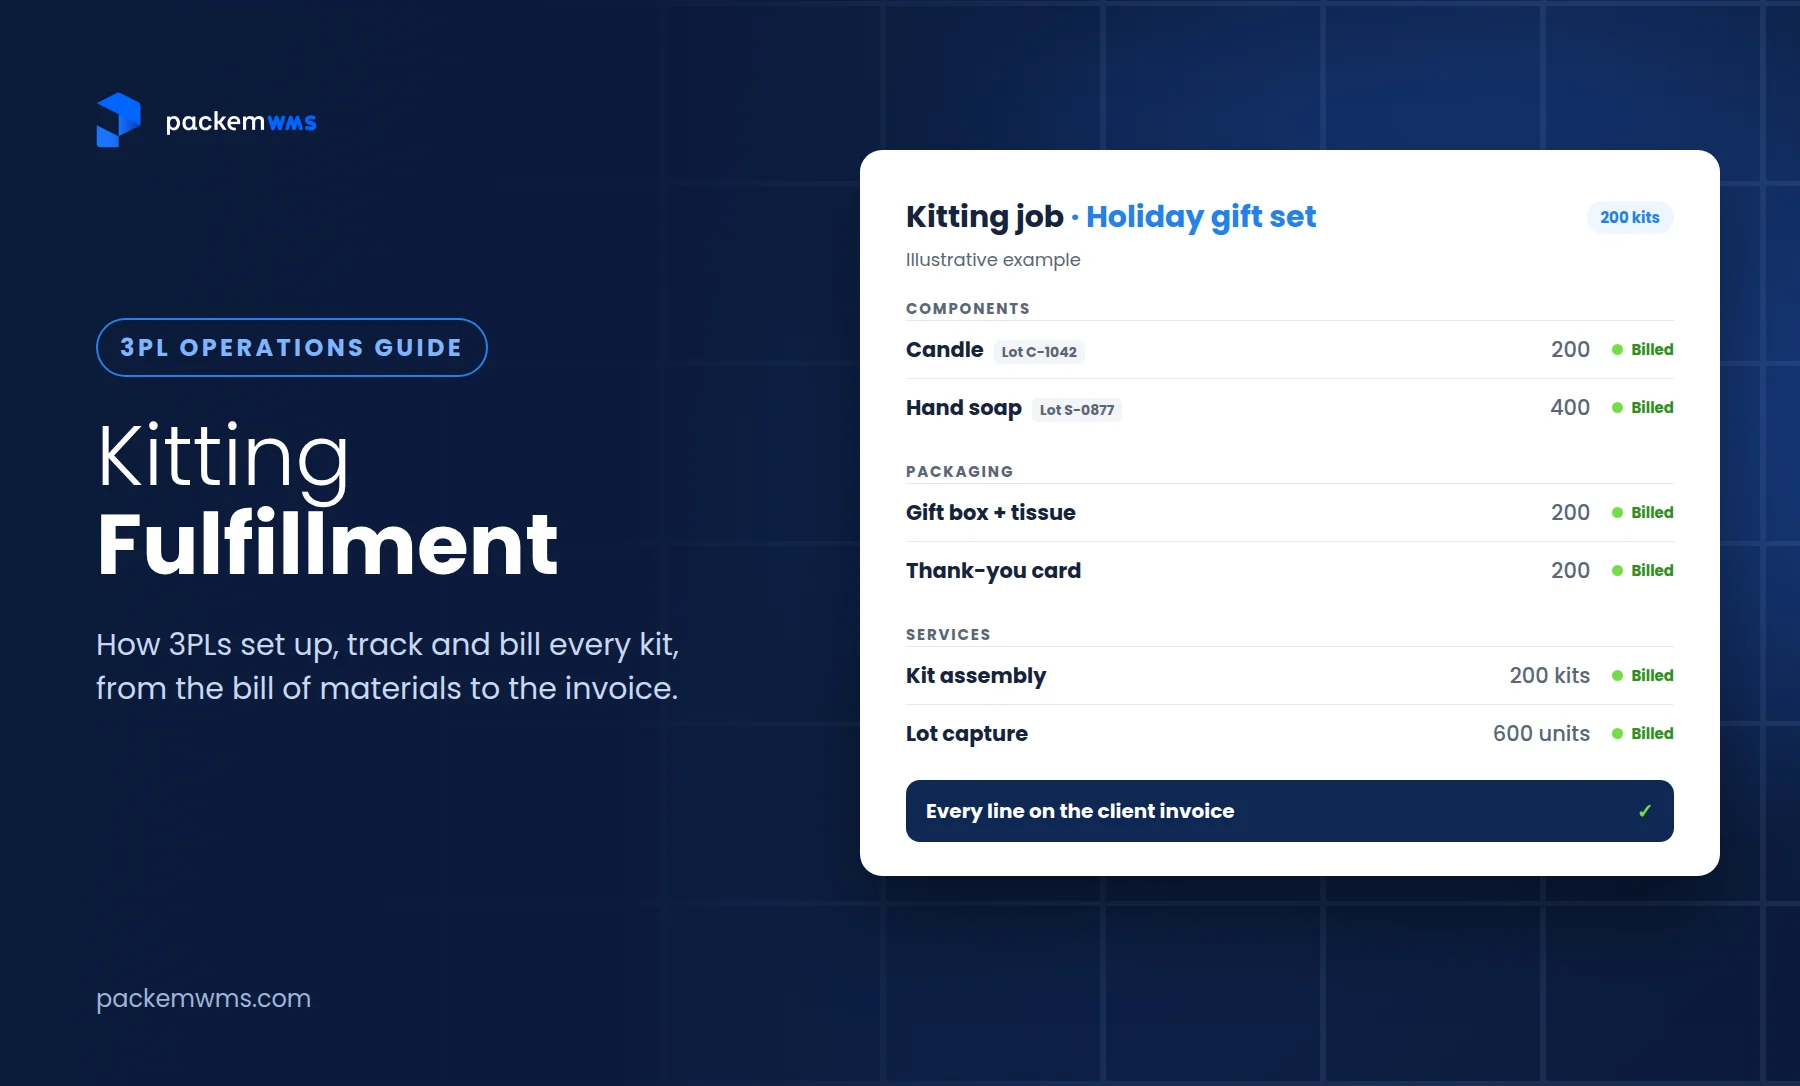
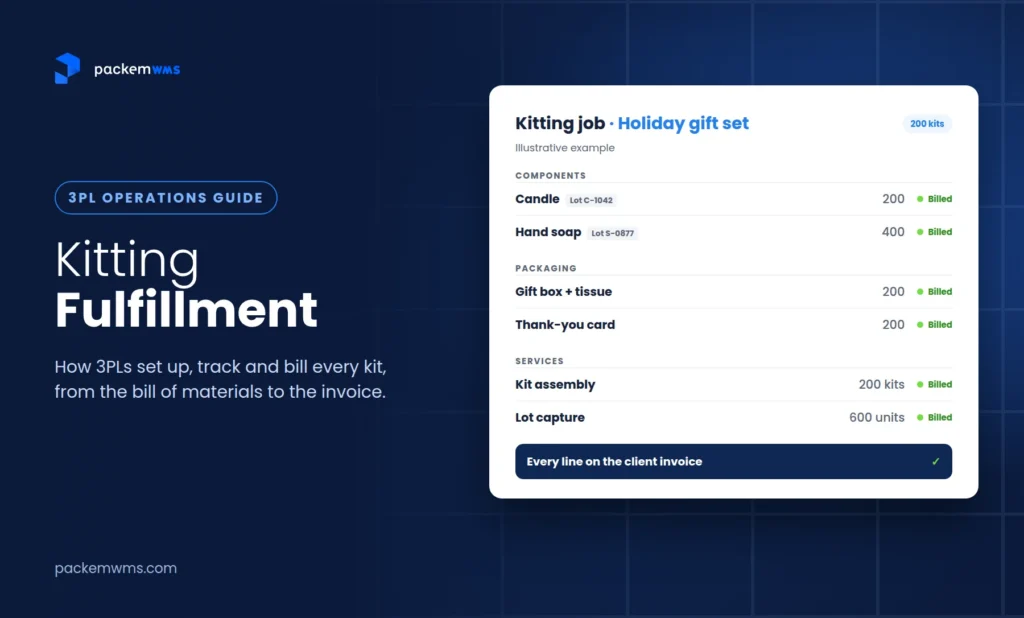
Last updated: October 7, 2026 · By Sam Ranjbari, founder of Packem
Kitting fulfillment is the process of combining several individual items into one sellable unit, a kit, with its own SKU. The kit is assembled either before orders arrive or at the moment an order is picked, then shipped as one package. Common kits include subscription boxes, gift sets, retail multipacks, promotional kits and employee onboarding packages.
For a 3PL, kitting fulfillment is one of the best value-added services you can offer. Clients who need it stay longer, and the work is hard for a competitor to undercut on price alone. It’s also one of the easiest services to lose money on. Component counts drift, packaging gets used and never billed, and a kitting run gets promised to a client before anyone checks whether the parts are on the shelf.
This guide covers how to set kits up in your WMS, keep kit and component inventory accurate, run a kitting job on the floor, and make sure every component, packaging item and service ends up on the client’s invoice.
Key Takeaways
- There are two ways to run kitting: build kits ahead of time (kit-to-stock) or have pickers pull components when an order comes in (kit on demand, also how bundles work). Most 3PLs need both.
- A bill of materials (BOM) for every kit is the foundation. It tells the warehouse what to pick and tells billing what was used.
- Track inventory at the component level, including lot numbers, so you can check material before you promise a production run and trace any component back to the kits it went into.
- Bill for everything kitting consumes: component handling, packaging and inserts, the assembly service, storage for parts and finished kits, and de-kitting.
- If your WMS can’t tie those charges to each kitting job, you’re relying on someone’s notes to bill a labor-heavy service.
What is kitting fulfillment?
Kitting fulfillment means assembling multiple SKUs into a single unit that’s picked, packed and shipped as one item. The warehouse builds the kit to a defined recipe, the bill of materials, and the kit gets its own SKU and barcode.
Kitting often gets mixed up with a few related services:
| Service | What it is | Example |
|---|---|---|
| Kitting | Combining finished items into one new SKU | A gift set with a candle, soap and a branded box |
| Bundling | Selling items together, often without physically combining them first | “Buy any 3” offers on Shopify |
| Assembly | Building a product from parts, often with tools or steps | Assembling a display stand or a device from components |
| Co-packing | Packaging a product into its retail packaging | Putting product into blister packs or display-ready cases |
The lines blur in practice. A subscription box is a kit. A “buy 3 save 10%” offer is a bundle that the warehouse fulfills like a kit. What matters for a 3PL is that every one of them consumes inventory and labor that needs to be tracked and billed.
Kitting fulfillment models: built ahead vs built on demand
The first decision for every kit is when it gets built. That choice changes how inventory moves, when labor happens and when you bill.
| Kit-to-stock (built ahead) | Kit on demand (built at pick, including bundles) | |
|---|---|---|
| How it works | You run a kitting job, assemble a batch of kits and put them away as finished inventory | When an order arrives, the picker is told to pick each component and they’re packed together |
| Best for | High-volume kits with stable contents: subscription boxes, holiday gift sets, retail packs | Bundles with many combinations, low-volume kits, contents that change often |
| Inventory impact | Components are consumed when the job is completed; finished kits become their own stock | Components stay as components until an order ships |
| Labor timing | Planned production runs, often off-peak | Mixed into daily picking |
| Main risk | Starting a run without enough material; building kits nobody orders | Slower picks; oversells if component stock isn’t checked across bundles |
| When you bill | Per kitting job (assembly, packaging, materials) plus storage for finished kits | Per order, as part of pick and pack, plus any kit-specific handling |
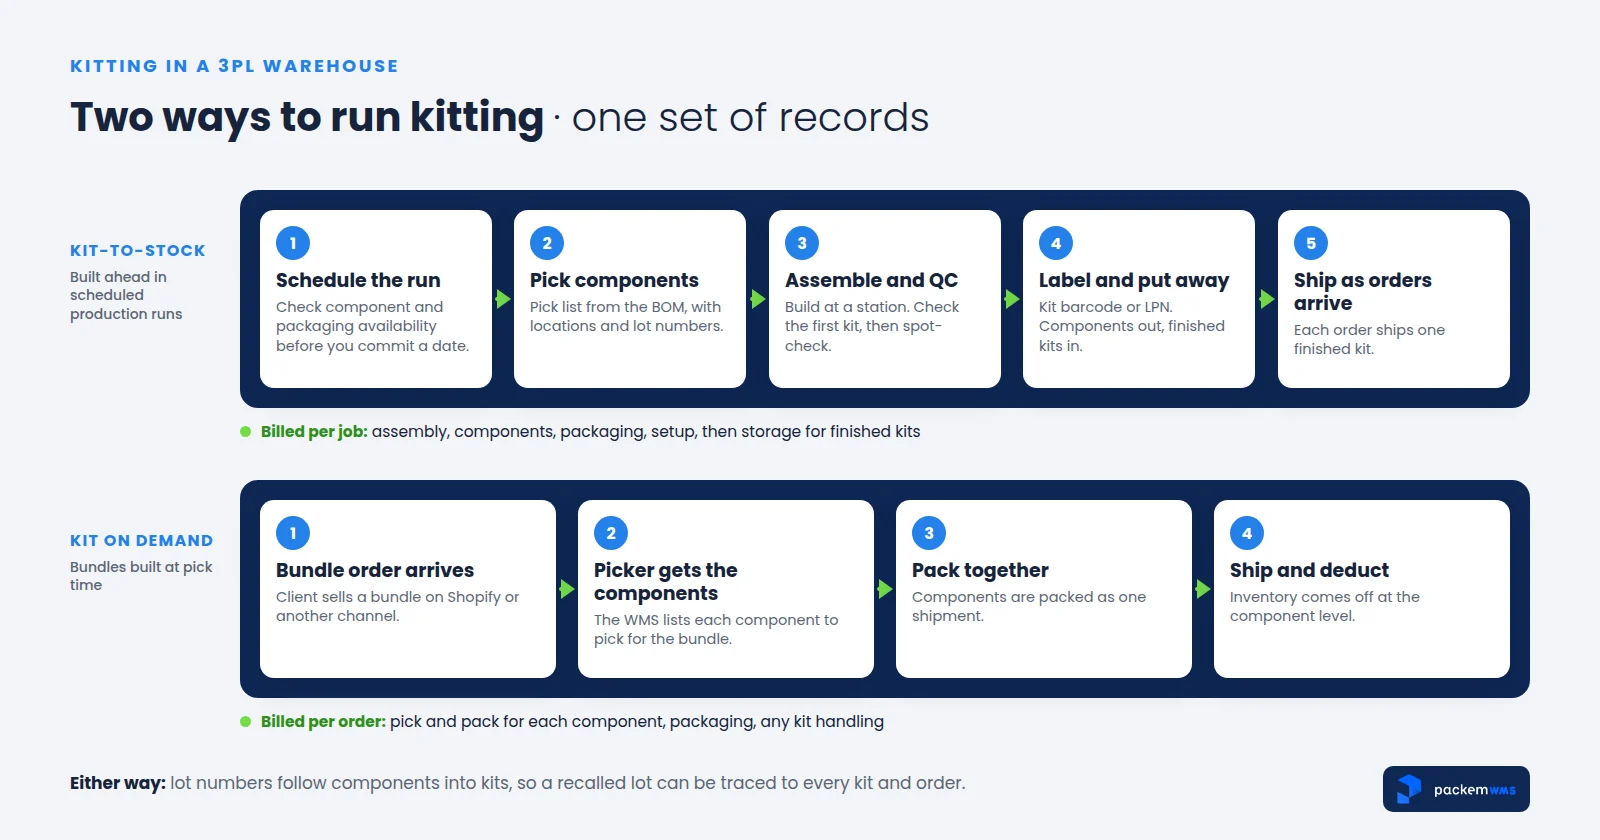
Most 3PLs that offer kitting end up running both. A client’s holiday gift set is built ahead in a scheduled run, while the same client’s “build your own box” offer on Shopify is fulfilled on demand.
Bundles deserve a special mention. Brands love “buy any 3” offers, but creating a separate kit SKU for every possible combination quickly turns into hundreds of SKUs. The cleaner approach is to treat the bundle as a kit on demand. The order comes in as one bundle, and the WMS tells the picker which components to pick. Inventory is deducted at the component level, so it stays accurate.
Setting up kits in your WMS
Kitting goes wrong when the recipe lives in someone’s head or a spreadsheet. Set up each kit as a proper record before the first one is built:
- Create the kit SKU for the client, with its own barcode.
- Build the bill of materials. List every component and quantity, including packaging and inserts: the box, tissue, the thank-you card, the shrink wrap. If it’s consumed, it goes on the BOM.
- Decide how it’s built: kit-to-stock, kit on demand, or both.
- Turn on lot tracking for components that need it. Food, cosmetics, supplements and anything with an expiry date should carry lot numbers through into the kit.
- Set the kit’s services and charges. Note what the client pays for: assembly per kit, packaging materials, special handling, and any setup fee for a new kit design.
- Assign locations for components and for finished kits, so a kitting job knows where to pull from and where to put away.
In Packem, kitting runs through the assembly module, the same module 3PLs use to manufacture finished goods from raw materials. You create the BOM for each kit, and every kitting job uses it to tell the team what to pick and to record what was consumed. Our inventory and kitting page shows the setup.
Tracking kit and component inventory
Here’s the problem kitting creates: the same unit can be counted twice, or not at all. A candle sitting on a shelf is available to sell on its own. Once it’s inside a gift set, it isn’t. If your system doesn’t move the candle out of component stock when the kit is built, the client’s store will happily sell a candle you don’t have.
It gets worse with bundles. One mid-size 3PL described the situation on Reddit: clients selling on Shopify, Amazon and Walmart, inventory uploaded by CSV twice a day, and oversells every time a client ran a flash sale. Bundles and kitted items made it worst. When a client forgot to update their component mapping, the warehouse shipped the wrong count and absorbed the cost.
A few practices fix most of this:
- Deduct components when a kitting job is completed, and add the finished kits as their own inventory in the same step.
- Check component availability before you schedule a run. If a job needs 500 boxes and you have 420, you should know before you promise the client a ship date.
- Keep bundle logic in the WMS, so a bundle order always deducts the right components, whatever the client’s store does.
- Track lot numbers on components. If a supplier recalls a lot, you need to know every kit that lot went into and where those kits shipped. That’s reverse lot tracking, and it’s not optional for food, cosmetics or supplements. (More in our guide to lot tracking for 3PLs.)
- Cycle count kits and components separately. Finished kits drift too. A regular cycle count catches it before a client does.
Packem tracks lot numbers on kit components and supports reverse lot tracking for recalls, so you can go from a component lot to every finished kit and order it touched.
Warehouse kitting on the floor: running a kitting job
A kitting job (or work order) for a kit-to-stock run usually follows the same steps:
- Schedule the run. Pick the kit, the quantity and the date. Confirm the components are available first.
- Pick components. The job lists every component and packaging item from the BOM, with locations and lot numbers.
- Assemble at a station. Keep a sample or a photo of the finished kit at the station so everyone builds it the same way.
- Quality check. Inspect the first kit of the run, then spot-check a sample through the batch. Catching a missing insert on kit 10 is much cheaper than on kit 1,000.
- Label the finished kits with the kit barcode, plus a pallet or LPN label if you’re building in volume.
- Close the job. Components are deducted, finished kits are added, and the services performed are recorded against the client.
- Put away or ship. Finished kits go to their location or straight out the door.
De-kitting
Sooner or later a client will ask you to break kits back down: a promotion ended, a kit design changed, or returned kits need to go back into sellable stock. De-kitting is the same process in reverse. Components go back into inventory (with their original lots), the kits are removed, and the labor gets billed like any other kitting job. If your system can’t reverse a kit cleanly, your component counts won’t recover.
How to bill for kitting fulfillment
Kitting rates vary too much by kit, volume and region for one price list to mean much, so we won’t publish one. What matters more is that you capture everything the job consumed. Kitting is labor-heavy and every run is different, which is exactly why it’s under-billed when charges are tallied by hand at month-end.
Here is what a 3PL typically charges for on a kitting job, and what your 3PL billing software should be able to capture:
| Charge | What it covers | How it’s usually counted |
|---|---|---|
| Assembly service | The labor to build each kit | Per kit, per component touched, or per hour for complex jobs |
| Component handling | Picking each component for the job | Per unit or per line |
| Packaging and inserts | Boxes, tissue, cards, shrink wrap, labels | Per item used, at cost or with a markup |
| Setup | A new kit design, a first-article sample, special instructions | One-time per kit or per project |
| Storage | Components and finished kits on the shelf | Per pallet, bin or cubic foot |
| De-kitting | Breaking kits back into components | Per kit or per hour |
| Special handling | Lot capture, inspection, photos, rush runs | Per occurrence |
A common pattern is a 3PL that bills the assembly service and forgets the rest. The tissue paper, the inserts and the extra labor of capturing lot numbers on every component never make it onto the invoice.
In Packem, the kitting job tracks the components, the packaging and the services performed for each kit, so the charges flow into the client’s invoice from the job itself rather than from notes. It’s the same idea as the rest of our 3PL billing automation: if the warehouse did it, it gets billed. Billing errors on value-added services are one of the most common places 3PLs leak revenue (here’s where the rest of it goes).
A real example: promising runs without the parts
One of our 3PL clients runs recurring kitting jobs for its brands. Before Packem, they had no way to schedule kitting production runs against what was actually on the shelf. A client would ask for a run, the team would commit to a date, and only on the floor would they find they didn’t have enough of a component to finish it. That meant awkward calls to clients and missed dates.
With kitting set up in Packem’s assembly module, they schedule kitting production runs in Packem and see inventory availability for each run before they commit, and they track lot numbers on components all the way into finished kits. When a client asks which lots went into a batch, they pull a report instead of digging through paperwork.
Common kitting mistakes
- Leaving packaging off the BOM. If the box and inserts aren’t components, you can’t track them or bill them.
- Promising runs before checking components. Check availability before you commit a date, not on the floor.
- Letting the client’s store own bundle logic. When mappings live in the storefront, one missed update means wrong shipments. Keep the recipe in the WMS.
- No QC gate on the first kit. One wrong first article can mean rebuilding an entire run.
- No de-kitting process. Kits that can’t be reversed cleanly leave component counts wrong for good.
- Billing kitting from memory. If charges aren’t tied to the job, some will be missed every month.
What to look for in kitting software
If you’re evaluating a WMS for warehouse kitting, check for these:
- Bills of materials per kit, including packaging and inserts
- Both build modes: kitting jobs for kit-to-stock runs, and kit on demand for bundles
- Component availability before a run is scheduled
- Lot tracking on components, with reverse lot tracking for recalls
- De-kitting that returns components to stock with their lots
- Kit and LPN labels for finished kits
- Charges tied to each job: components, packaging and services flowing to the invoice
- No separate manufacturing module needed to run kitting alongside normal pick and pack
- Client visibility into their inventory through a client portal
Packem covers all of these in one system, with kitting handled by the same assembly module used for light manufacturing. If kitting is a big part of your business, it’s worth seeing in a demo with one of your real kits. For the wider feature checklist, see 3PL WMS features that matter.
Frequently asked questions
What is kitting in fulfillment?
Kitting in fulfillment is combining several individual items into one sellable unit with its own SKU, such as a subscription box, gift set or retail multipack. The warehouse builds kits from a bill of materials, either ahead of time in a production run or on demand when an order is picked, and ships each kit as one item.
What’s the difference between kitting and bundling?
Kitting physically combines items into a new unit with its own SKU, usually before orders arrive. Bundling sells items together, and the warehouse often picks the individual components when the order comes in. Many 3PLs handle bundles as kits built on demand so inventory is deducted at the component level.
How do 3PLs charge for kitting?
Most 3PLs charge for the assembly service (per kit, per component or per hour), component handling, packaging and inserts, one-time setup for new kit designs, storage for components and finished kits, and de-kitting. Rates vary widely by kit complexity and volume, so the key is tracking every charge against the kitting job so nothing is missed on the invoice.
How do you track inventory for kits?
Create a bill of materials for each kit, deduct components when a kitting job is completed and add the finished kits as their own inventory. Track lot numbers on components that need them, check component availability before scheduling runs, and cycle count kits and components separately.
What is de-kitting?
De-kitting is breaking finished kits back into their components, for example when a promotion ends, a kit design changes or returned kits need to be restocked. The components return to inventory with their original lot numbers, the kits are removed from stock, and the labor is billed like a kitting job.
Do I need a manufacturing module to run kitting in a WMS?
Not necessarily. A 3PL WMS with kitting built in can handle bills of materials, kitting jobs, kits picked on demand and component lot tracking alongside standard pick and pack. In Packem, kitting runs through an assembly module that’s part of the WMS, with no separate manufacturing system required.
Make kitting a service you can scale
Kitting rewards 3PLs that run it like production: a recipe for every kit, components checked before runs are promised, lots tracked from shelf to shipment, and every component, packaging item and service billed.
This week: pick your highest-volume kit and write out its full BOM, packaging included. Compare it with what you billed for that kit last month. This month: decide which of your kits should be built ahead and which should be built on demand.
If you want to see kitting jobs, component lot tracking and kit billing working together, book a 30-minute Packem demo. Bring one of your real kits and we’ll set it up live.